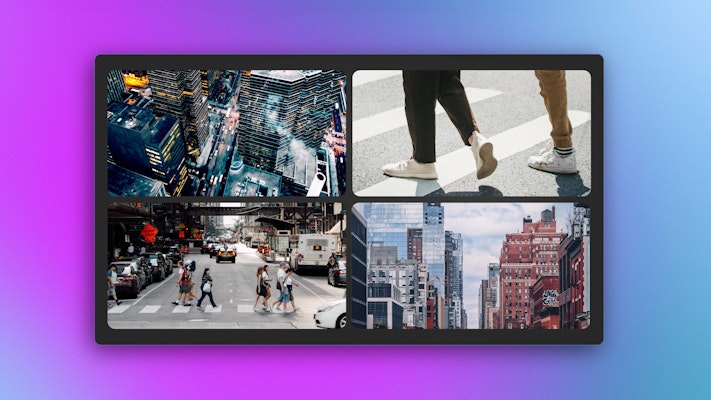
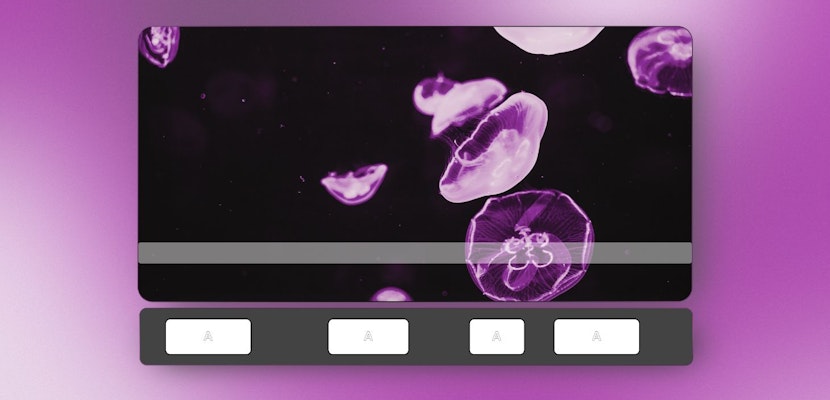
Whether you’re working with multiple cameras and want to showcase all of your angles on one screen, or are looking to display a few events in an easy and dynamic edit, DaVinci Resolve has ways to make that happen.
You can create any number of split screen effects in DaVinci Resolve, though we recommend keeping them between 4 and 9 so your work doesn’t get lost in the mix.
Today, Motion Array will show you 2 neat and efficient ways to create split screens in DaVinci Resolve to optimize your multimedia projects. Let’s begin.
Summary
Part 1: 2 smart ways to create split screens in DaVinci Resolve
A split screen in DaVinci Resolve is a valuable tool for comparing multiple shots side by side. It makes it easier to ensure consistency in color grading, framing, and overall visual style. It’s also helpful in showcasing different angles of the same scene, enhancing storytelling by presenting simultaneous actions, or highlighting differences in before-and-after footage.
Split screens can creatively convey contrasts, similarities, and parallel narratives, adding interest and depth to a project. Additionally, they streamline the editing process by enabling direct visual comparisons, saving time and improving the accuracy of your edits.
You can quickly create custom split screens in DaVinci Resolve from scratch by adjusting the size and position of each clip. Another new way to make a split screen is to use the built-in Video Collage preset available in the Effects Library in DaVinci Resolve. You’ll learn both ways below.
Option 1: Create your split screen manually
If you want to create your split screen manually, this incredibly simple method will be your go-to. All you need to do is drop your video files into separate tracks in the timeline, and use the X and Y position tabs.
- Set the project to the same settings for all footage, i.e., 1080p and 60 fps. This is particularly important when working with footage from different sources/cameras.
- Make sure all footage is on its own track.
- Select your first clip and go to Transform in the left corner. Scale and place your clip to a quarter of the screen’s size.
- Apply the Transform effect to all your other footage and arrange it to create a 4-screen view.
Pro Tip: To scale more precisely, go to the Inspector tab on the right-hand side and use the Zoom option.
Option 2: Create your split screen using the Video Collage effect
If you’d rather not go the manual route, the Video Collage effect will also help you create DaVinci Resolve split screens.
Part 1: Setting up
- Again, set your project’s settings consistently before importing any footage. In the video, Motion Array used 1080p and 60 fps again.
- Ensure that all of your footage is ready and that you have a textured background layer.
- Always set your textured background on the bottom layer.
- Place your other clips on their own track in the order you want them seen.
- On the right-hand side under Inspector, go to Effects Library > Open FX > Filters > Resolve FX Transform > Video Collage.
- Drag the Video Collage effect onto your first clip.
- The default preview creates 4 tiles.
- To add additional screens under Layout, you can adjust the Columns and Rows to get more tiles.
Pro Tip: To see which tile you’re working on, check the Preview Layout box in the settings.
Part 2: Creating the effect
- Turn off all your other layers. This makes it easier to see the tiles you’re working with.
- On the right-hand side under Inspector, go to Effects Library > Open FX > Filters > Resolve FX Transform > Video Collage.
- Under Workflow, change the option to Create Tile.
- You’ll see that the first clip at the top will apply to the first tile.
- To apply the same effect to the other clips, select the first clip and copy the attributes using the shortcut Ctrl + C or Cmd + C.
- Select all your other clips, right-click, and hit Paste Attributes.
- In the new window, uncheck Video Attributes and only select Plugins. Click Apply.
- Now go to each clip with the effect applied and place each one into a tile. Go to the right-hand side and, under Inspector > Effects Library > Open FX > Filters > Resolve FX Transform > Video Collage, select Tiles (instead of Globals).
- Make sure to change the Active Tile to Tile 2.
- Do this for the next tiles by selecting Tile 3, then Tile 4, and so on.
Pro Tip: For an additional effect, you can stagger the tiles horizontally or vertically, and round the corners (up to a full circle). You can also select each tile to Mute it, add a Drop Shadow, or create a Tile Animation by adding keyframes.
Part 2: 2 creative split screen templates for DaVinci Resolve
1. Split Screen FX Grid Layouts
This split-screen grid layout is an absolute must-have for any DaVinci Resolve editor. It’s a super customizable template with a variety of potential applications.
Download Split Screen FX Grid Layouts Now
2. Split Screens Kit
An incredibly versatile template that accommodates halves, thirds, quarters, ninths, and mixed frames, you can’t go wrong with this split screen effect for DaVinci Resolve.
Download Split Screens Kit Now
We hope you enjoyed this tutorial. Now you can use each of these methods to create amazing split screens in DaVinci Resolve. You also have 2 fun split screen effects for DaVinci Resolve. Check out Motion Array’s other DaVinci Resolve tutorials to learn more about using them.


