If you shoot a scene with multiple cameras, you might find that cutting between the footage in post-production is a bit jarring. This is because all cameras are different, and the ideal way to shoot a scene is with identical cameras and settings. This isn’t always possible, but you can sync multiple cameras in Premiere Pro quickly and easily. This will help you match the colors of different cameras so the edit looks smooth. You won’t be able to make the footage look exactly the same as every camera has different ways of reading light, but you’ll have more data to work with by filming in Log, which provides more depth and color information.
If you’re filming with multiple cameras, the most important thing to ensure is that the white balance of both cameras matches. This will help with color matching in Premiere Pro. You’re ready to go once you’ve got your footage lined up on the Timeline.
Summary
Shooting tips to better sync multiple cameras in Premiere Pro
The closer the 2 pieces of footage are before you begin color matching, the better. Here are some tips that will help you sync multiple cameras in Premiere Pro more easily.
First, make sure both cameras are using the same settings: this means using the same ISO, shutter speed, and aperture on both. Also, the white balance should be set to the same mode on each camera, like ‘daylight’ or ‘cloudy.’ This helps the cameras see colors similarly.
Next, use the same lens settings on both cameras if possible. Try to use lenses with similar focal lengths and apertures. This helps the images look more alike in terms of how much they zoom in and how blurry the backgrounds are.
When filming, try to keep both cameras in the same lighting conditions. If 1 camera is in the shade and the other is in bright sunlight, their colors will look very different. Also avoid mixing different types of light, like sunlight and indoor light, because this can cause color problems.
After shooting, you may still need to adjust the colors of your footage when editing, which is why Motion Array is showing you how to sync multiple cameras in Premiere Pro. Many editing programs have tools to help match colors between clips. Start by comparing the footage from both cameras and make small adjustments to make it look more similar.
Remember, perfect color matching can be tricky, even for professionals. A 100% match would require identical cameras and conditions, such as on a soundstage, however, following these steps will help you get much better results when using 2 cameras.
Part 1: How to color match in Premiere Pro for footage shot from different cameras
Option 1: Lumetri Color
Lumetri Color is a powerful color grading and correction tool integrated into Adobe Premiere Pro and After Effects. It provides filmmakers and video editors with controls to adjust and enhance the appearance of their footage, especially across elements such as exposure, contrast, saturation, and color balance.
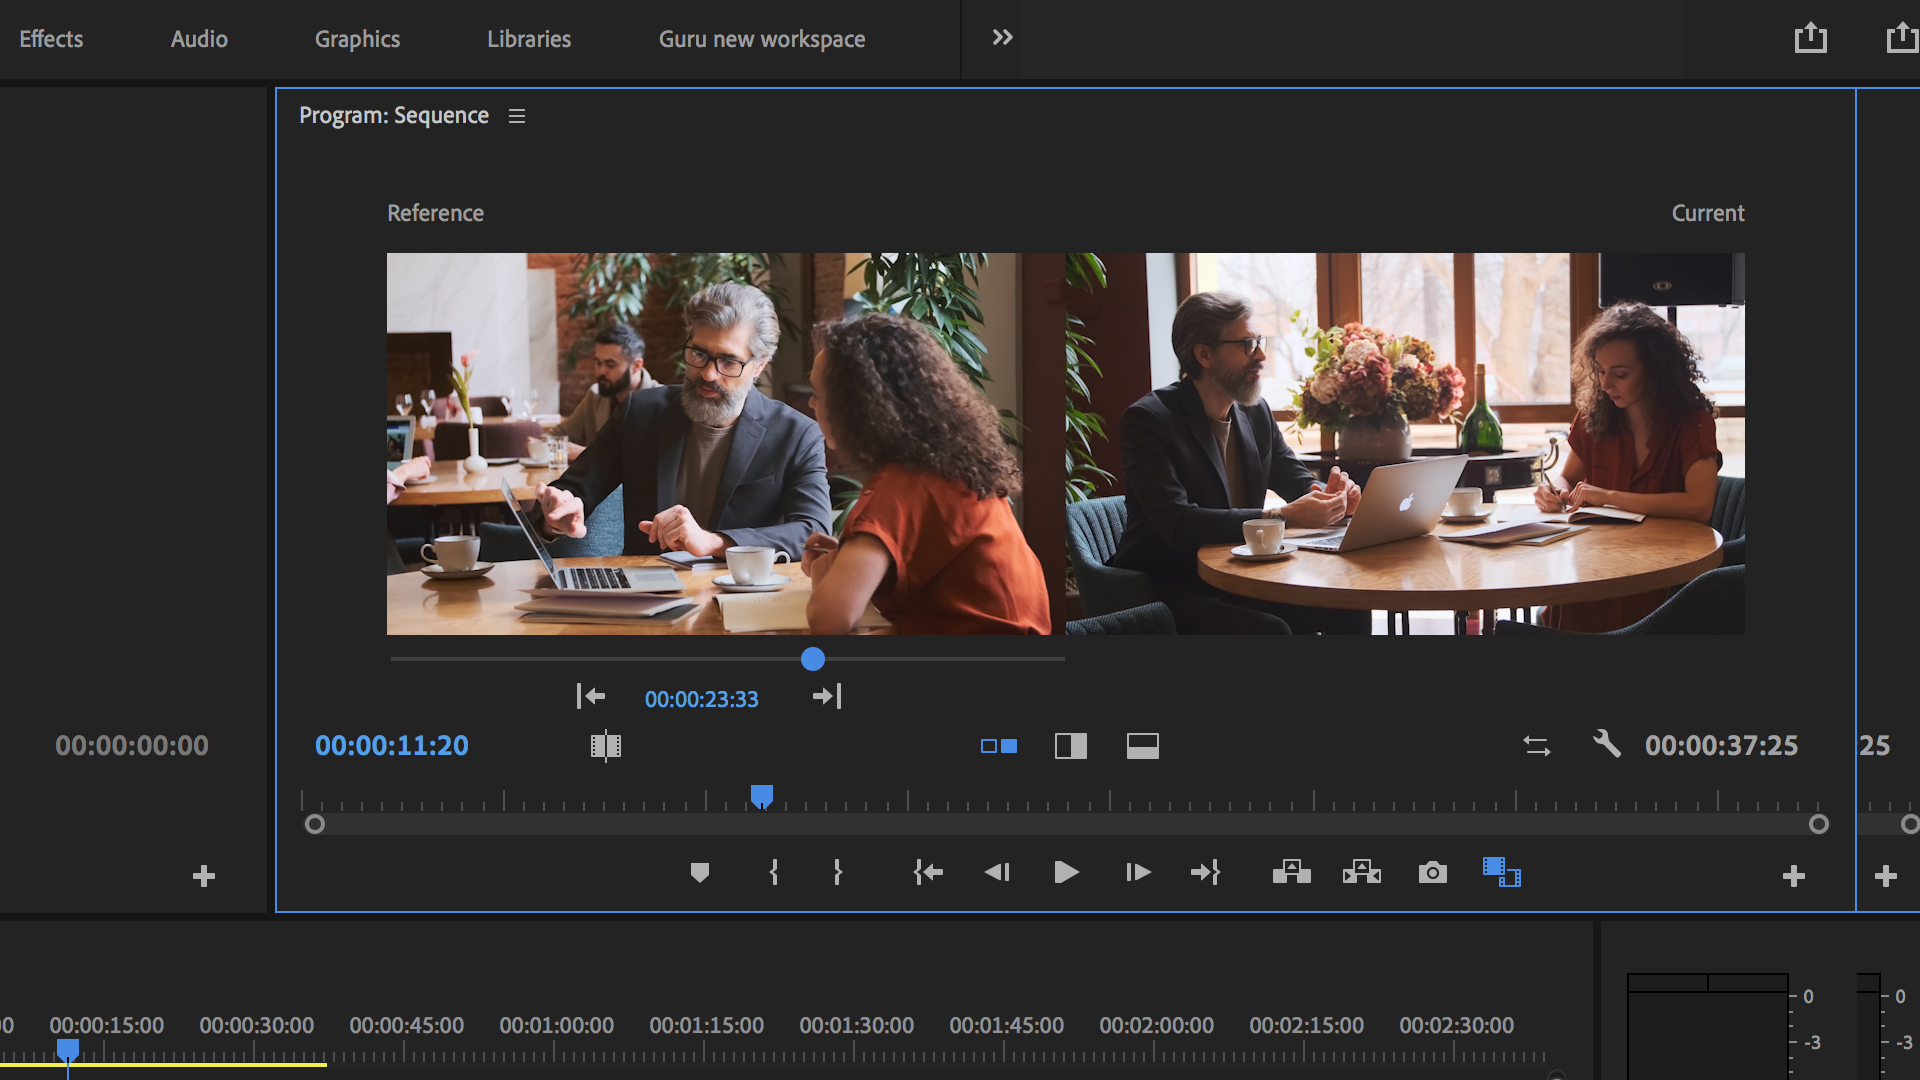
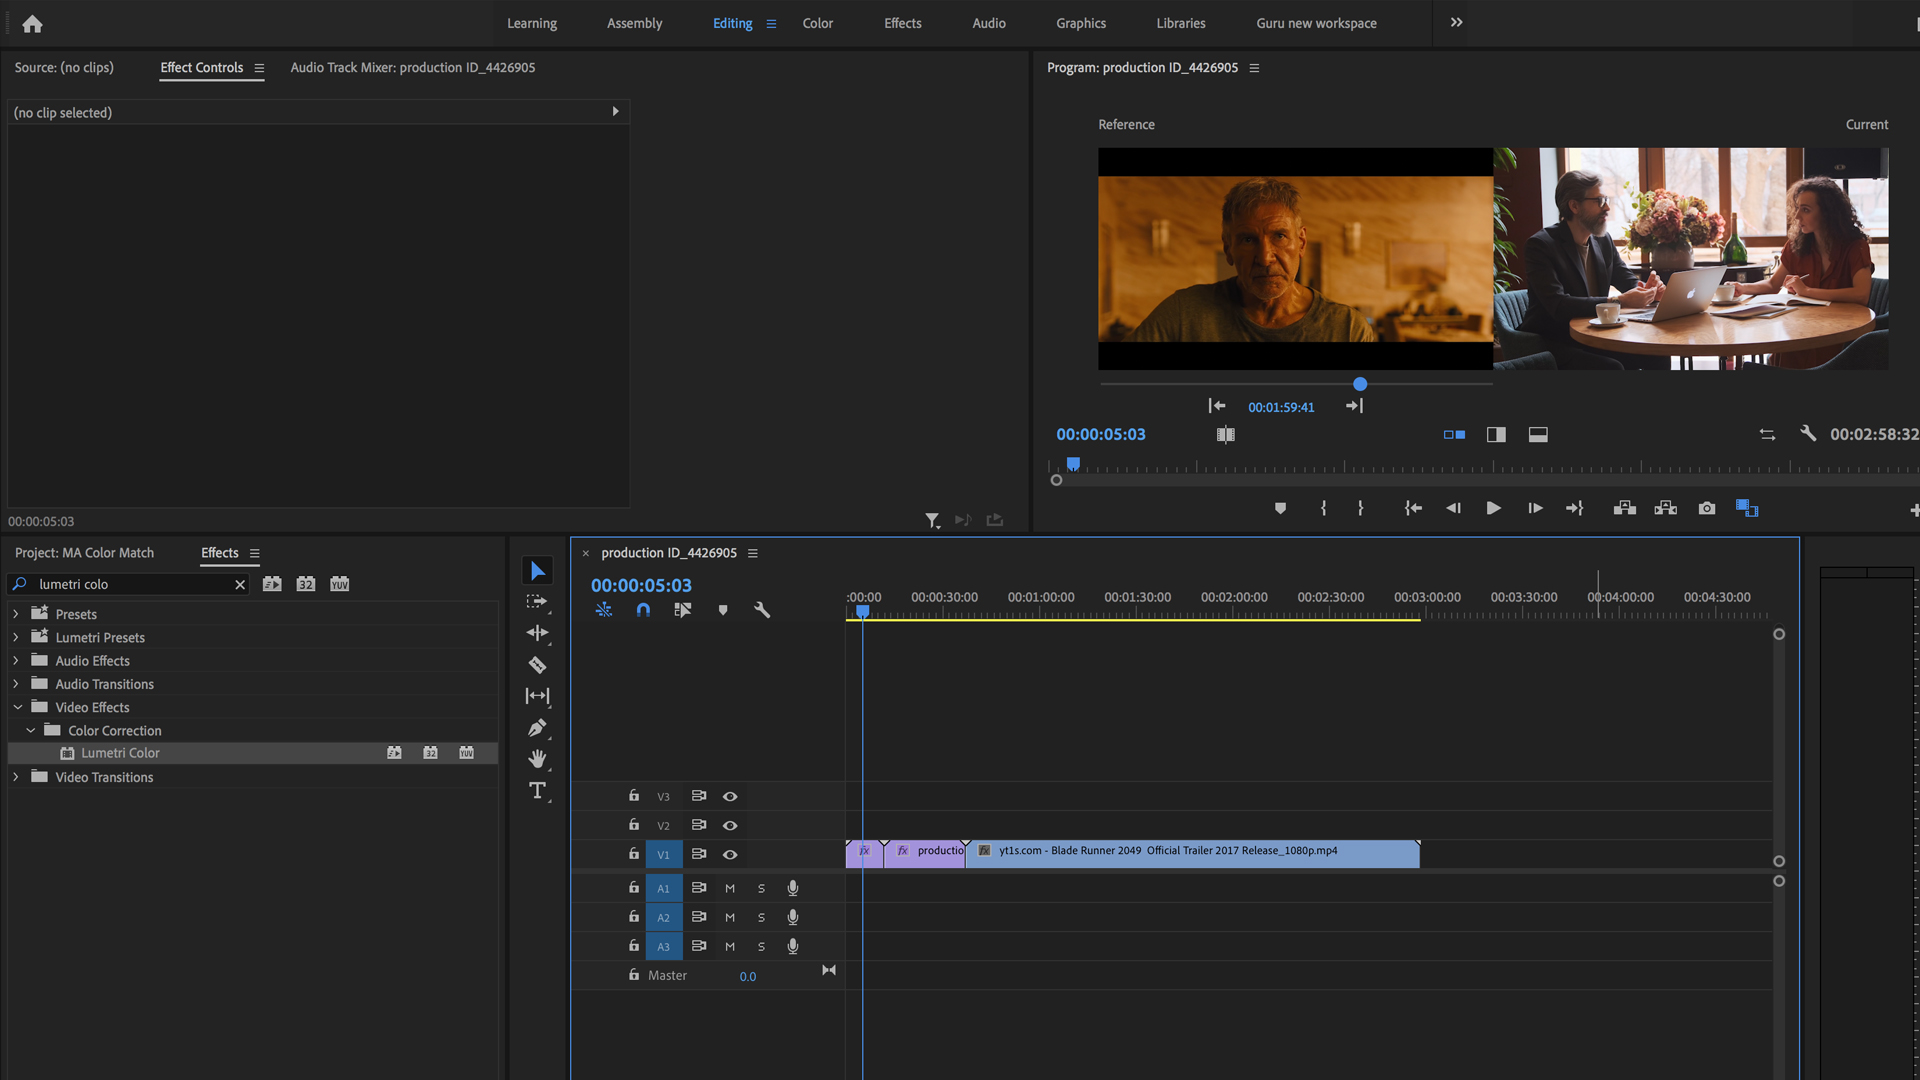
- It’s difficult to color match when you have to jump from clip to clip, so click the wrench icon and select Comparison View.

- Adjust the Comparison View until you have the 2 shots you want to color match in Premiere Pro lined up next to each other.
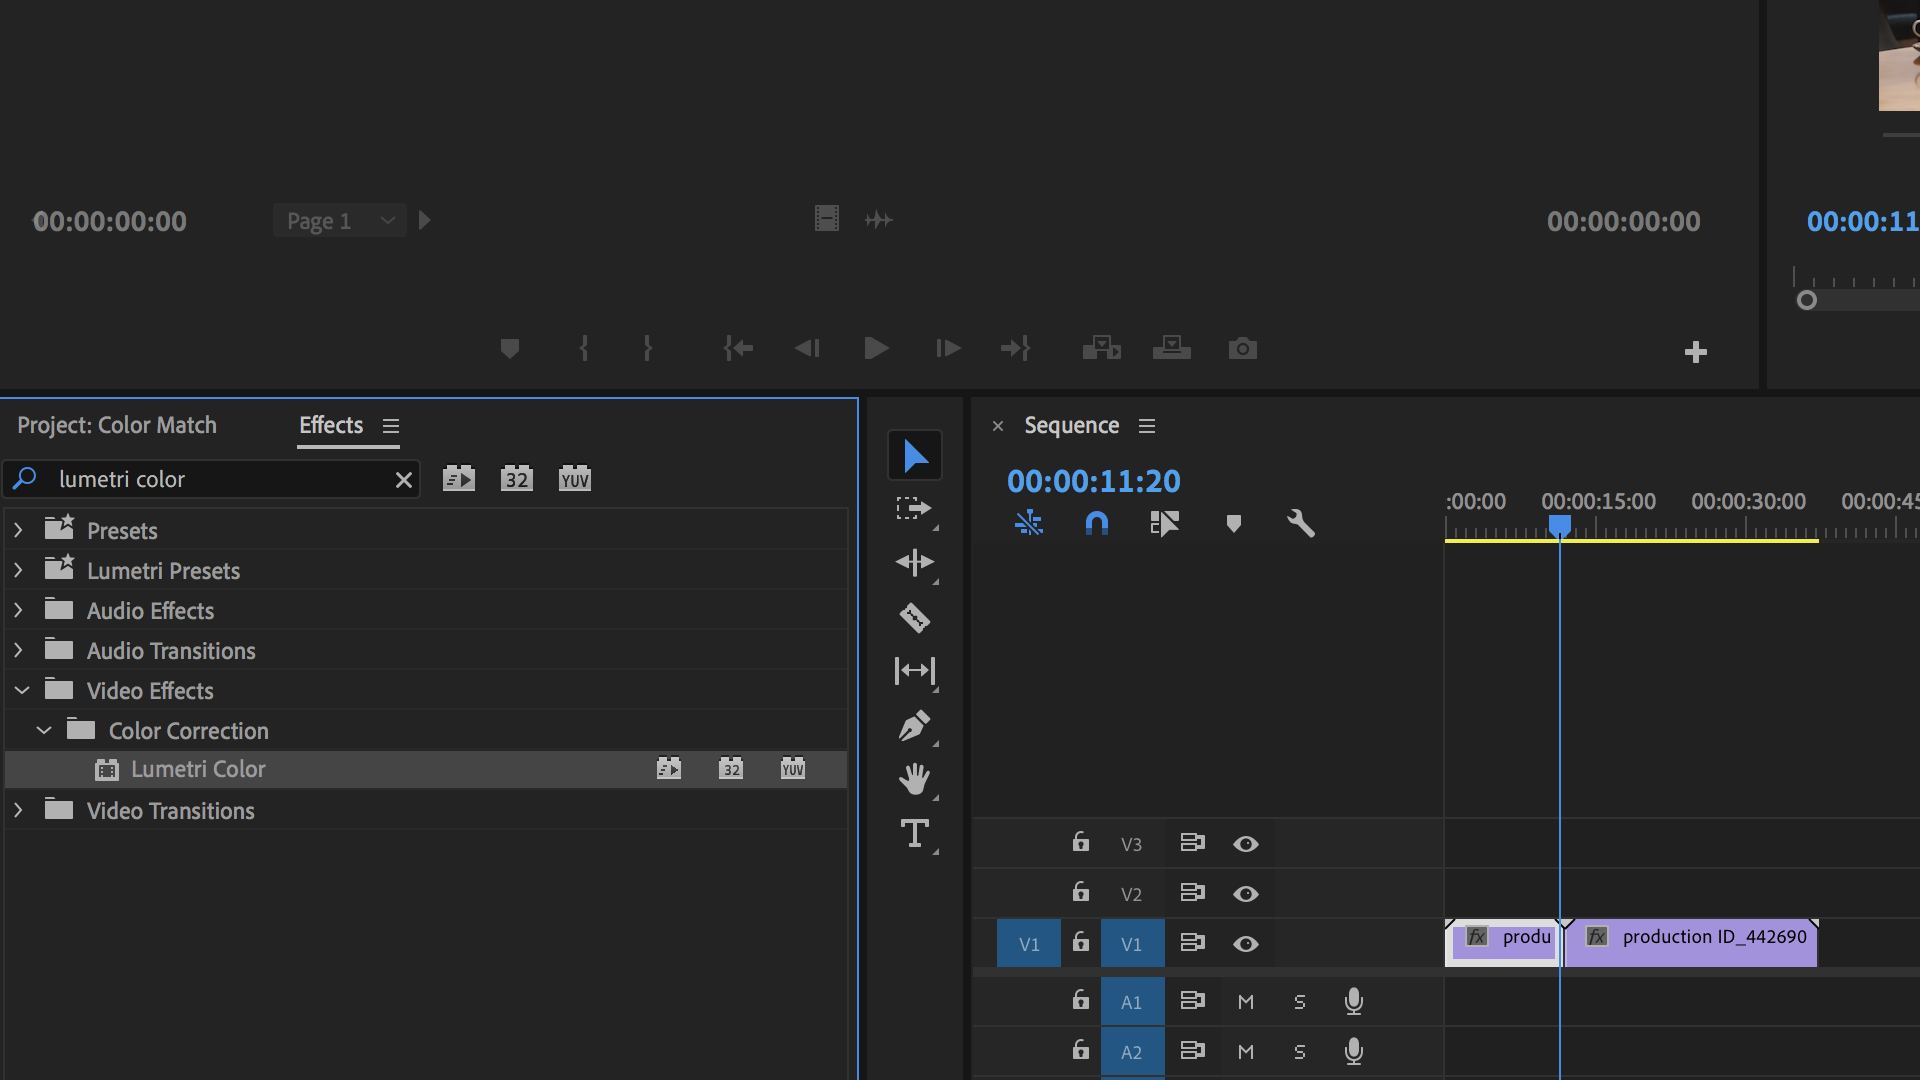
- Go to Effects > Lumetri Color and apply it to the clip you want to color match. It’s usually best to use the main shot from your A camera as the base and apply the color matching to your B camera.
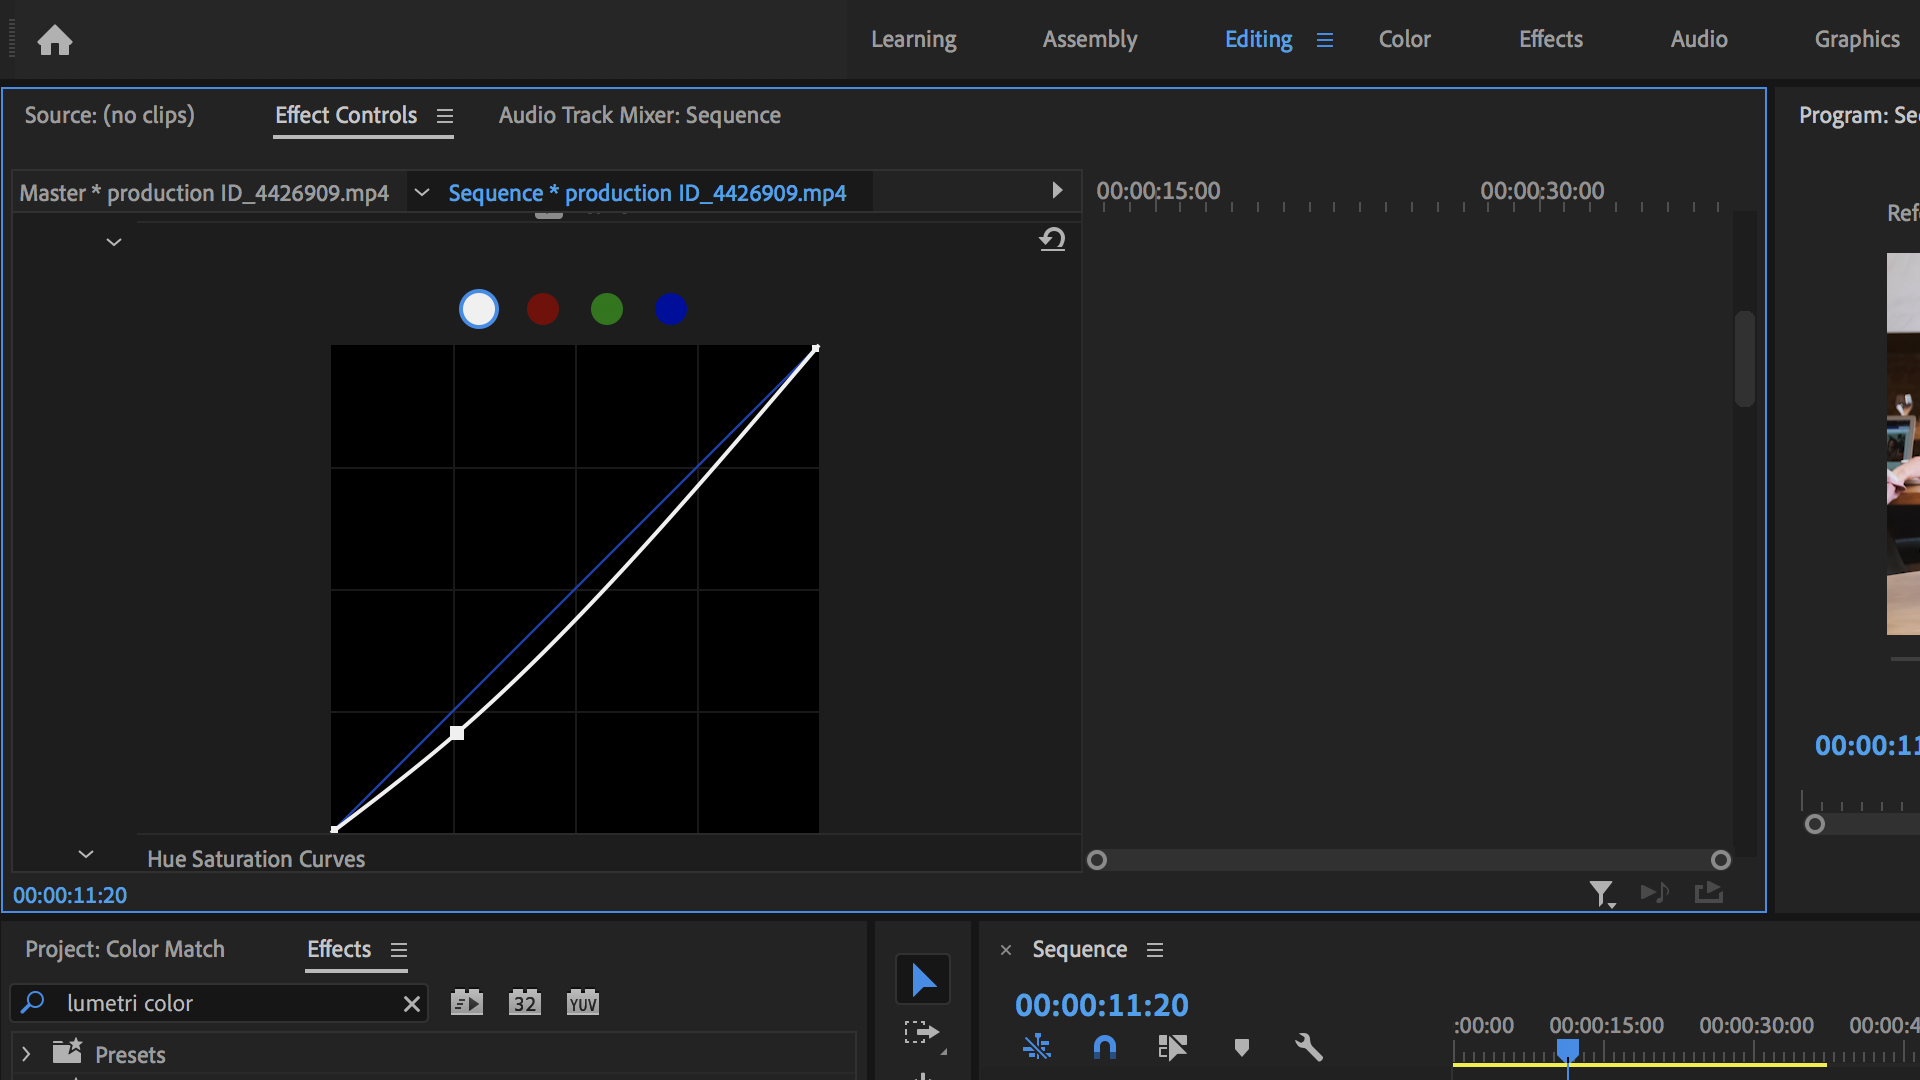
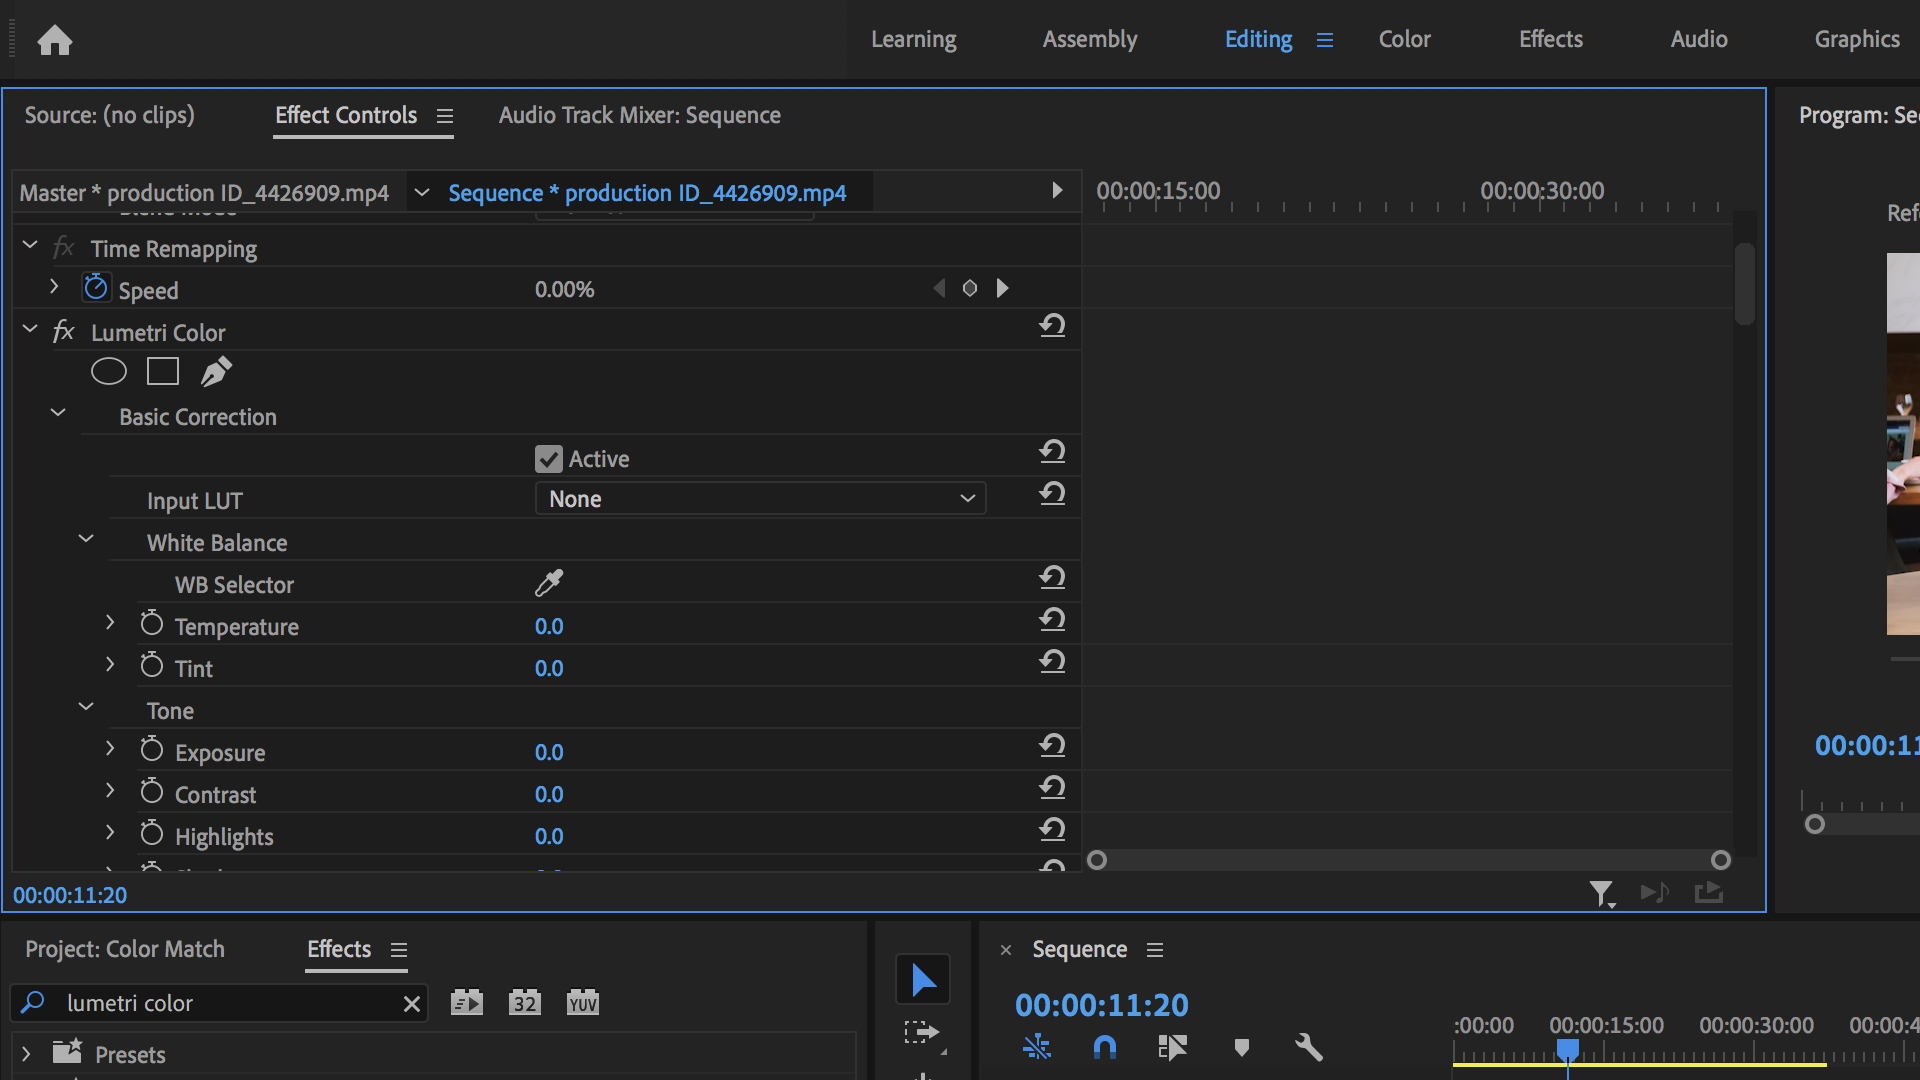
- In the Effects Control panel, go to Curves in Lumetri Color.
- Adjust the contrast and highlights by moving the curve.
6. To adjust the color temperature, go to Basic Correction.
7. Adjust the values in Temperature and Tint using the side-by-side view to judge the similarity.
8. When you’re happy with the look, create an Adjustment Layer.
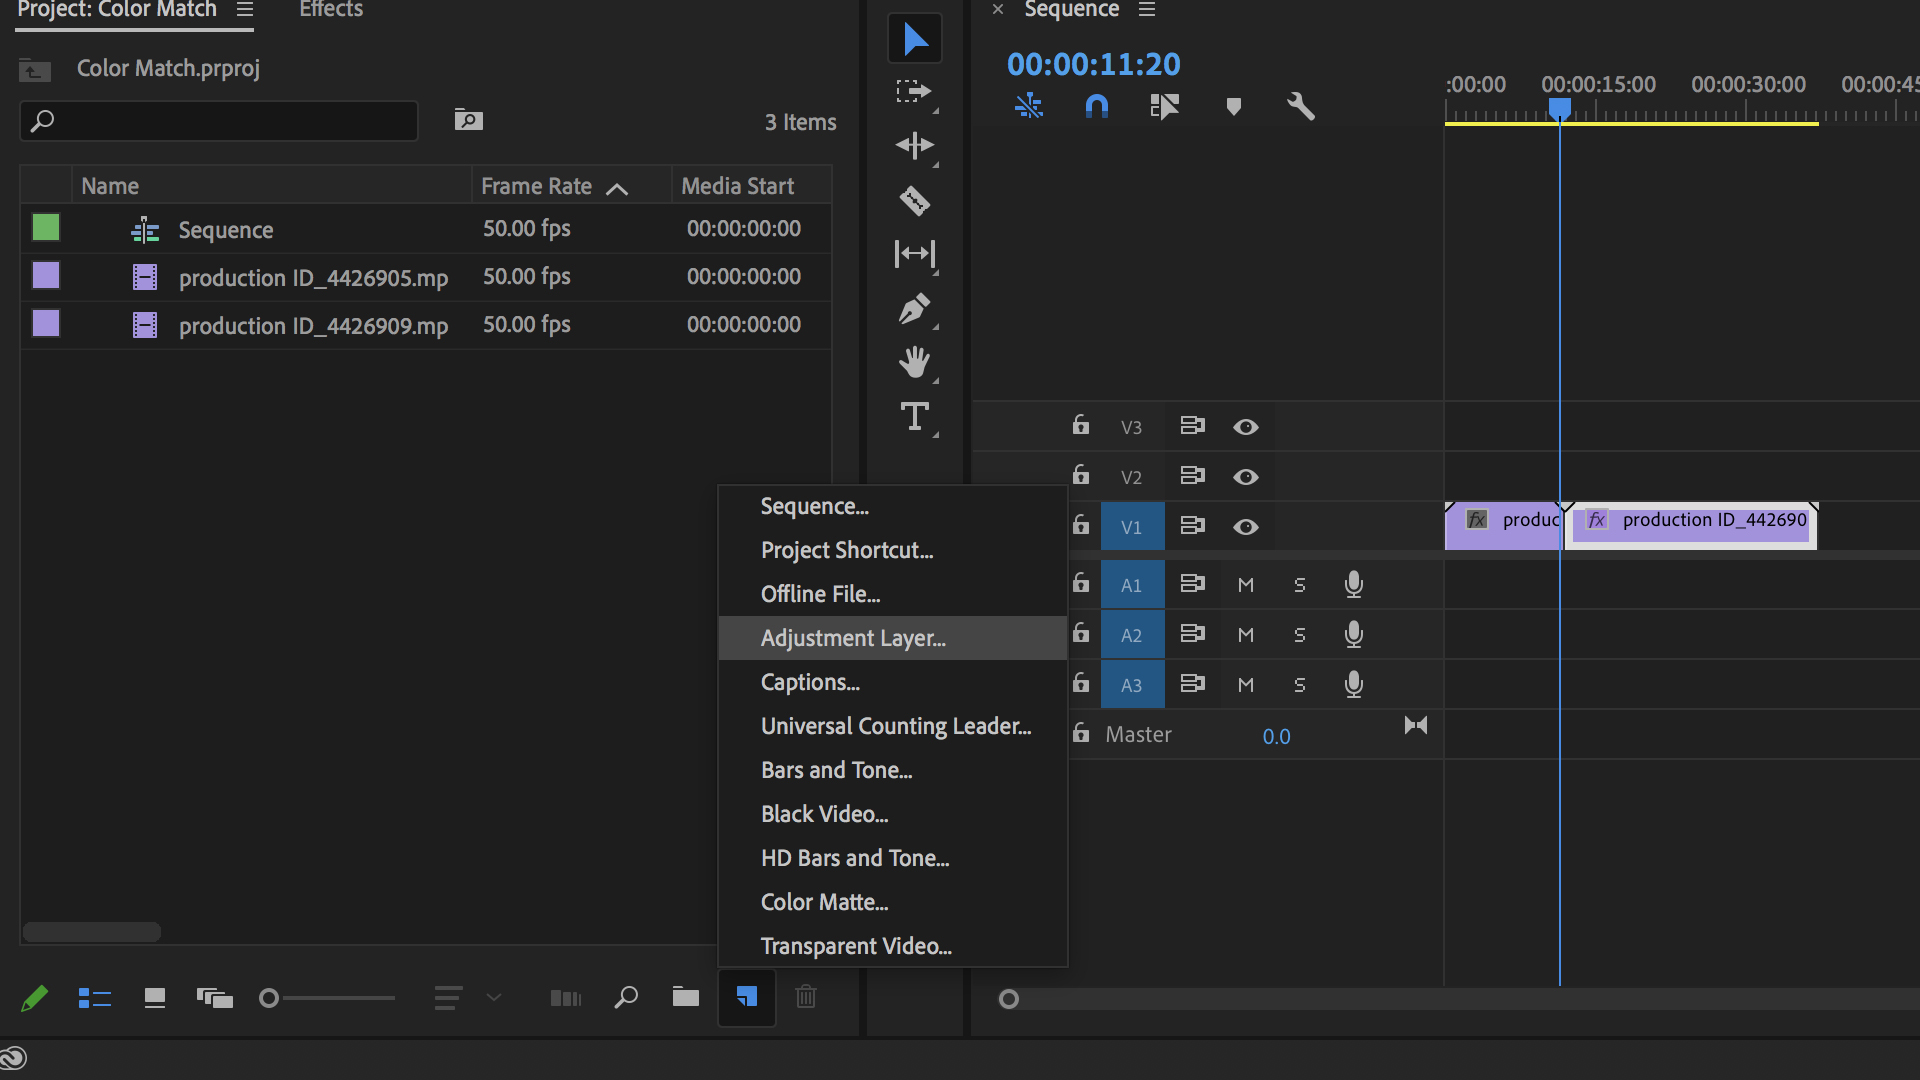
9. Add a Lumetri Color Effect to the adjustment layer.
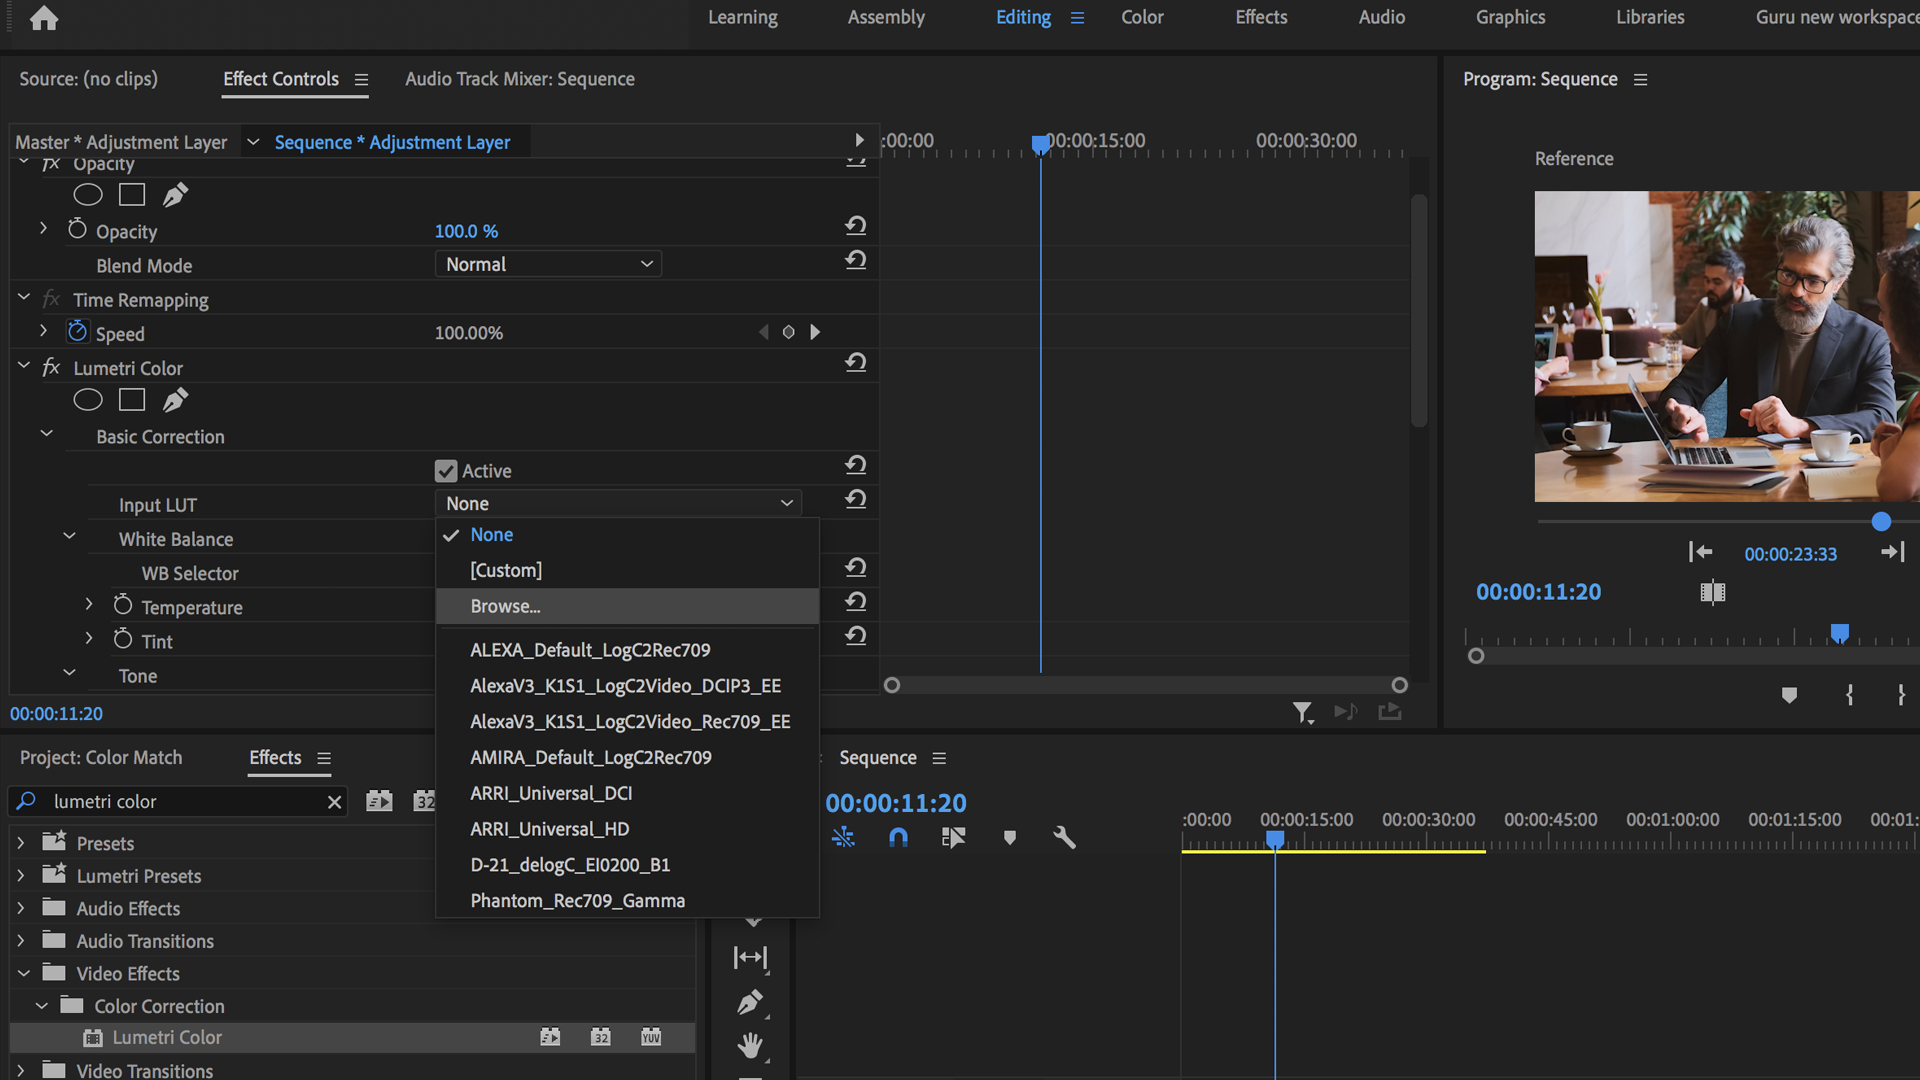
10. Go to Browse and add a LUT of your choice to grade the 2 images. Make sure you blend it so it doesn’t intensify the image.
Option 2: Intelligent color match
Premiere Pro now has an intelligent color match tool that automatically adjusts the color. It’s not perfect, but you can use it as a starting point to sync multiple cameras in Premiere Pro. From there, you can adjust the Color Wheels and Curves for the best possible match, speeding up the process in Option 1.
- Repeat Steps 1-6 from above.
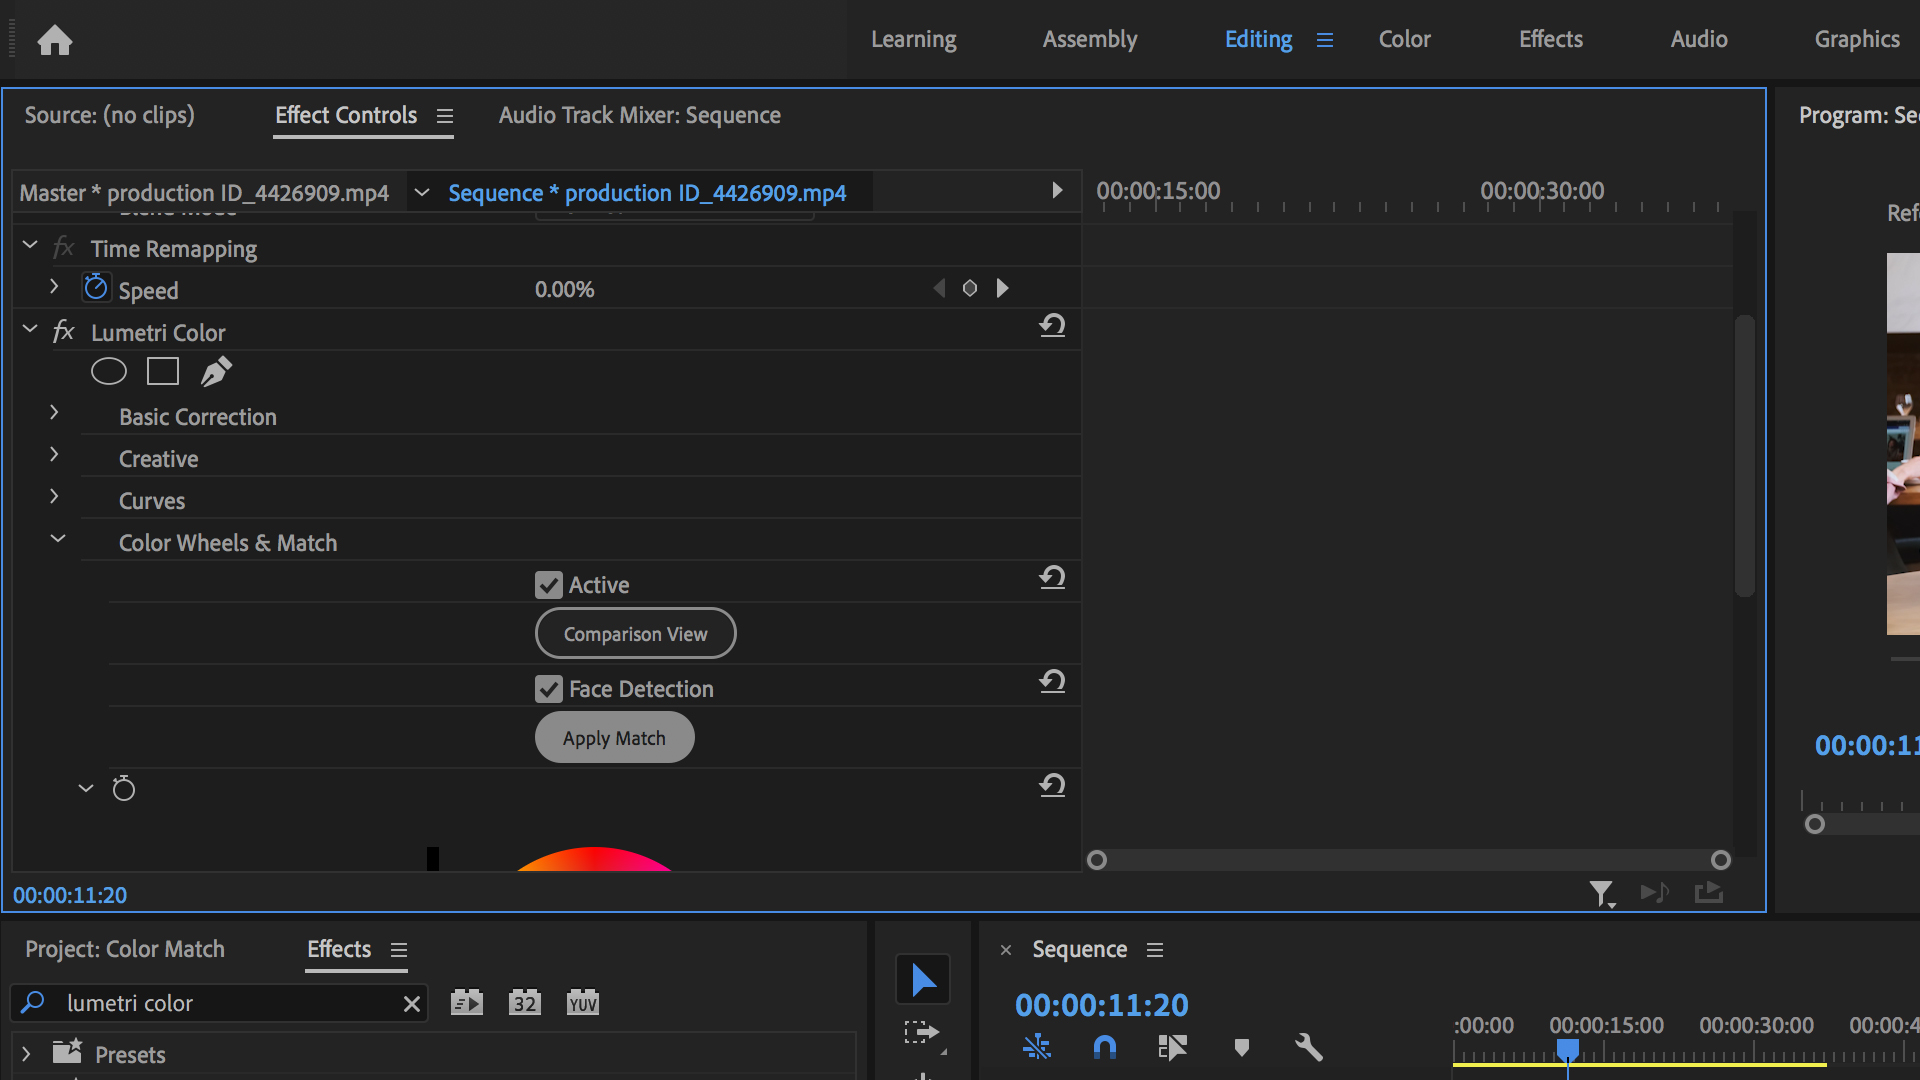
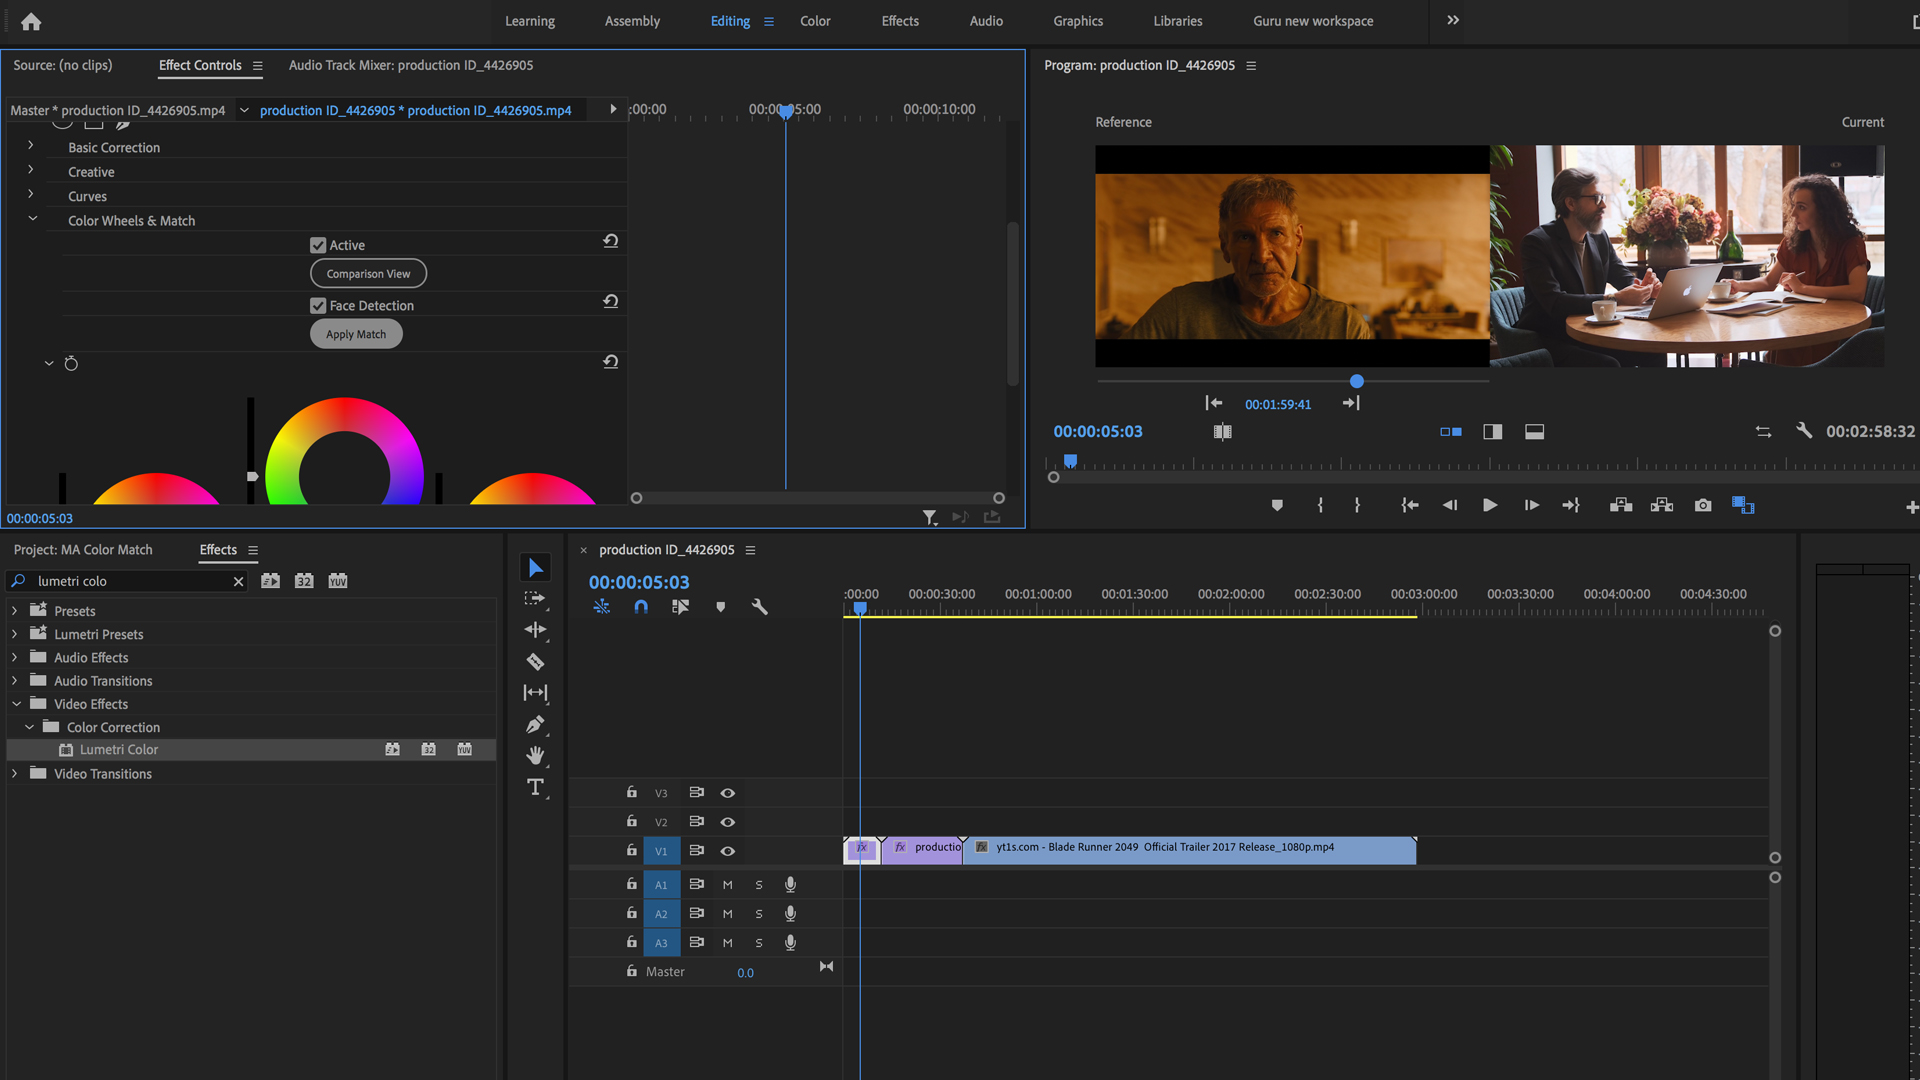
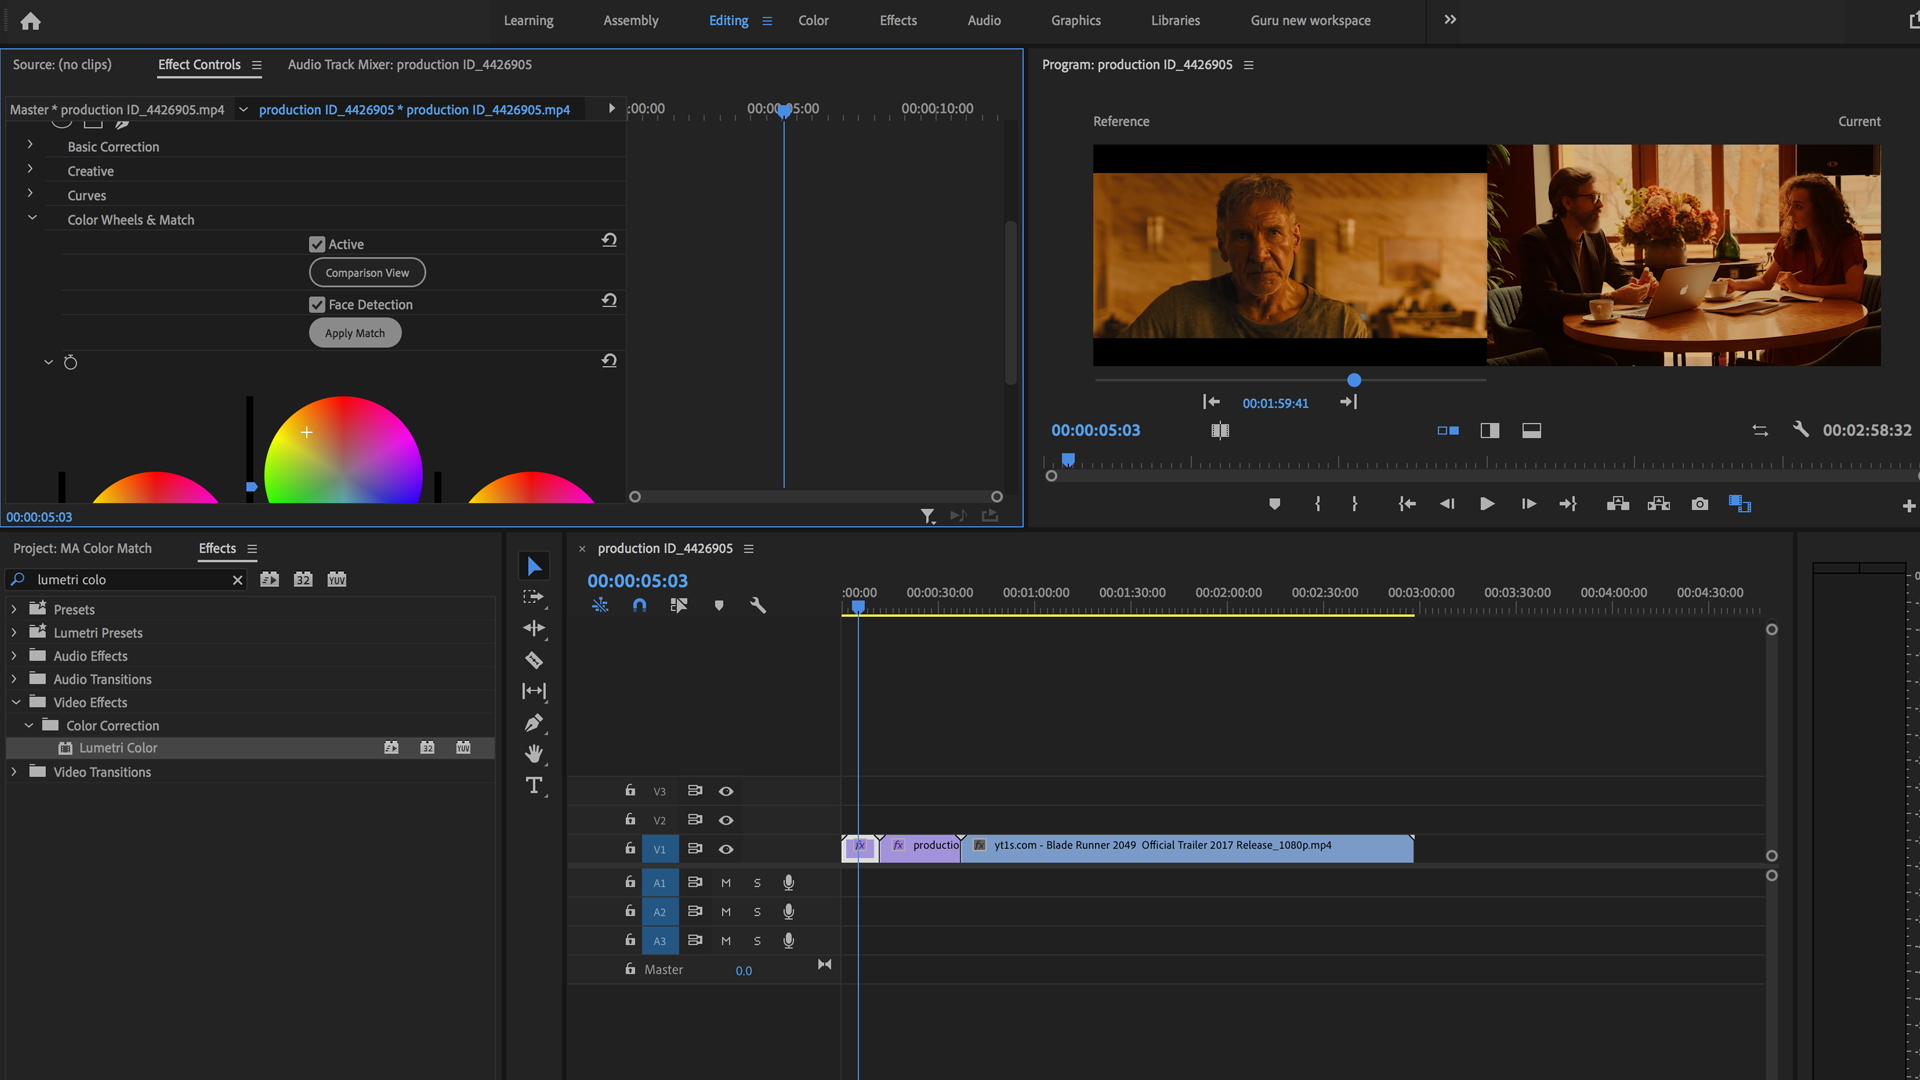
- In Color Wheels and Match, select Apply Match.
- The intelligent color match tool in Premiere Pro automatically reads the images and adjusts the values. The new Face Detection feature adjusts skin tones when matching shots.
Part 2: How to color match using reference clips in Premiere Pro
If you’ve seen something inspiring — like a film or an image — you can use that clip to reference and color match in Premiere Pro. This is where intelligent color match comes in handy.
- Put your reference image on the Timeline next to the footage you want to color match in Premiere Pro.
- In Comparison View, pair your footage with your chosen reference image.
- Go to Color Wheels and Match.
- Select Apply Match.
- The colors will be there, but you’ll still need to manually adjust the contrast and highlights to create a better match. You can do this by adjusting the values in the Basic Correction properties.
- If you find the effect too vivid, apply a LumetriColor Effect to an Adjustment Layer instead, and reduce its Opacity.
And that’s all there is to it. By following either of these options, you’ll quickly be able to color match in Premiere Pro. You can be as careful and detailed as you like, depending on how much time you have.
Remember that you won’t be able to make the footage from 1 camera look exactly like the footage from another, but you can match the color, which will prevent the edit from jarring. Just be sure to shoot in as flat a color profile as possible so you have more data to play with in post-production. And if you’re in a hurry, Premiere Pro’s intelligent color match tool will speed things up.
Motion Array’s tutorials can also help you learn more about color grading and correction in Premiere Pro and how to use other fun effects, so don’t stop learning!